Almost have a rolling frame! In fact I almost went ahead and bolted the wheels on just for fun to get the G3F off the jacks tonight, but in lieu of needing to hook up the rear calipers, rotors, brake lines, and tie rods, I figured it would just waste time for an appearance. The tie rods that are stock have ball ends in the power steering boots and threaded portions (14mm) at the outside ends. I unscrewed the rods to remove the power steering assembly (4 bolts) from the K frame.
Taking up the most time tonight was the strut assemblies' replacements. You would think with all the practice that this would have been easy by now. Not really. Even after replacing the front suspension in my TDI this week, I still had plenty of difficulty getting those spindles loose. There's a tool on ebay ($19.99 free shipping: search "vw suspension tool"), and a set on amazon ($60ish) that looks like a socket with a flat tip screwdriver bit in the end. They're not really expensive, so I highly recommend purchasing one to do the spreading for you. I also had to burn time filing both of the bottoms of the new struts at the welds. So that's 3 of 4 that wouldn't fit down the spread tube without filing the welds that left a lip just wider than the tube. Maybe I can get Mark to make a quality assurance call to the manufacturer he's getting these from. The welds are nicely done. It's just the really tight tolerances don't leave much margin for any excess material.
 |
| See both the tie rod end and the cylinder clamp of the VR6 |
NOTE: There is a difference between the TDI and the VR6 spindle where it clamps the bottom of the strut. The VR6 is basically one solid cylinder vs. the TDI which looks the same from the outside, but has two 1/2" bands that contact the strut. I found the VR6 to be much tighter and more of a pain to spread adequately.
 |
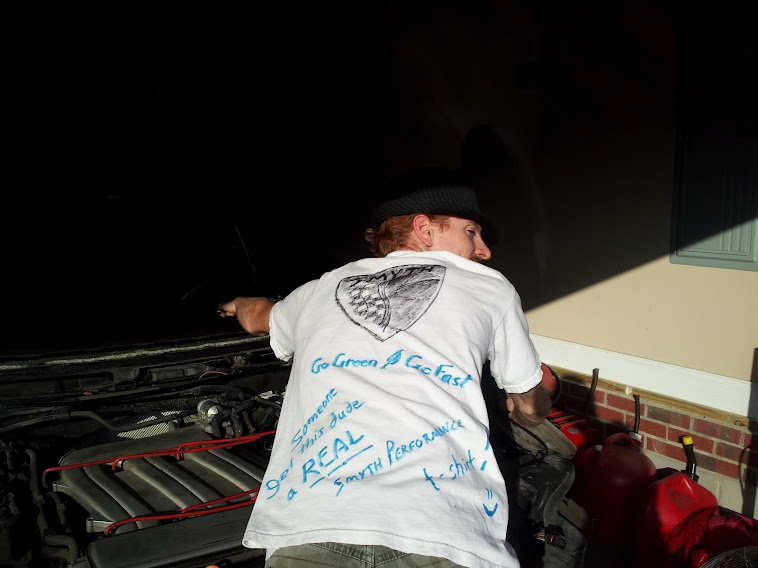
Using an extra donor mat to keep scratches away as I drag the rear K frame assembly into place ; )
|
 |
| Hoisted K frame up into place. Nice fit! |
I have a bit of work to do getting the brakes looking nice and being functional, but my biggest hold-up for now on the rear spindles is the tie rod modification. In case you're wondering how we get away with a front (turnable) suspension on the rear, Mark made a place to bolt the tie rods into the tubular subframe to lock the wheels in place and also give a toe adjustment for alignment. My only problem is that we don't use the stock tie rods, but I don't have any hardware that substitutes the tie rod. I'll put that on my list of things to request from Smyth Performance tomorrow when I call. No matter, though, I'm sure he has a little goodies list of things to send me soon. We just want to make sure all the kinks are worked out before production hits. The last estimate I heard on that was the end of this month, but I believe that's optimistic by several months. I'd guess high 80's to 90% completion by this month. There's the finished top to consider, VR6 exhaust and manual tweaking, any 1.8T differences in development, and probably a few more things that need to be buttoned up before a full-scale production operation gets underway. In the mean time, that high percentage of finished items can keep any further buyers busy for quite some time, so no worries here. I've been kind of slow getting to things around here because I'm finding parts I don't yet have are "next" in my assembly, and I've had an overwhelming amount of maintenance and other issues coming up lately. As usual, there's still plenty to keep me busy before I run out of things to do. I plan to get the windshield frame, rear brake lines, rotors, and calipers installed, and put the wheels on the ground next. Then I work on swapping the tranny to the replacement motor, and giving that all a good once-over. Once I remount the engine in the back, I can begin plumbing and routing of all the systems and components. Sounds like fun!

 Woohoo! It looks pretty sweet sitting nice and low. Clearance is pretty tight on stock offset to the new struts. Looks pretty good now, but I'll be getting the aftermarket wheels on eventually anyway.

